
If your business does not own a Google business profile yet, then you’re missing out on local customers! When customers search for a service or product, Google matches them with professional and highly rated businesses around their area.
Creating one is absolutely free. There’s no catch. Unless you want to pay for ads, then that’s when you pay but many businesses have flourished by simply asking customers for honest reviews.
We’ll show you how to create a complete google business profile in 11 easy steps. Let’s begin!
Step 1: Log into Your Google Account
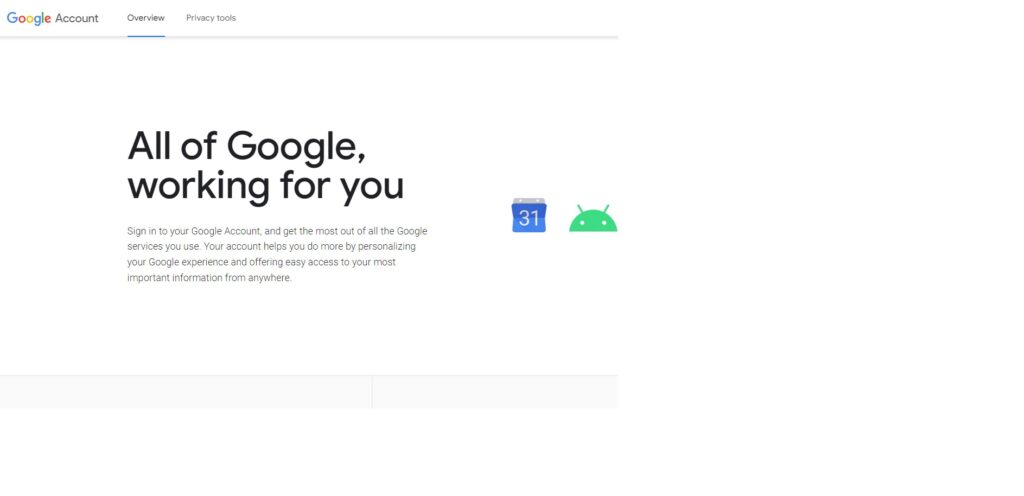
Ensure you’re logged into the Google account associated with your business. If you don’t have one, create it. You’ll need this account to manage your business portfolio.
Don’t have a Gmail yet? No worries. You can create a free one in minutes! https://support.google.com/mail/answer/56256?hl=en
Step 2: Go to Google My Business
Visit the Google My Business website at https://www.google.com/business. If you’re not already using Google My Business, you’ll need to set up your business there first.
Keep in mind that you will need a valid URL and also a business address.
You can use your personal if you don’t have a physical location and hide your address from appearing on Google search. (Google only needs this to verify your business).
Step 3: Access Your Business Profile
Once you’re in Google My Business, locate and click on your business profile.
If you haven’t created one yet, follow the prompts to set up your business information first.
Step 4: Navigate to the New Main Menu
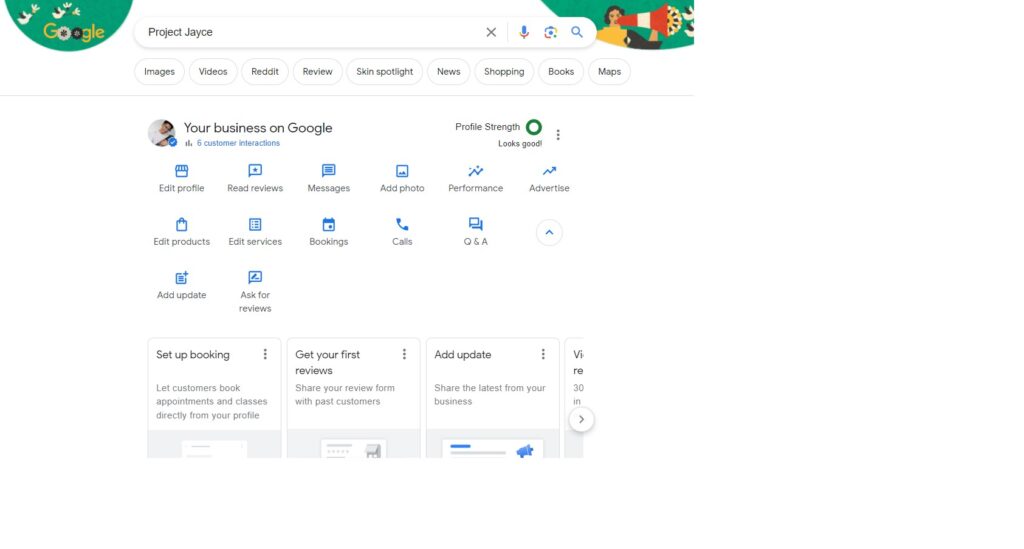
Have a look at the newest interface! This is where you can create and manage content for your business portfolio.
Use the drop down icon on the right (next to Q&A) to reveal the last two options: Add update & Ask for reviews.
Step 5: Create a New Update
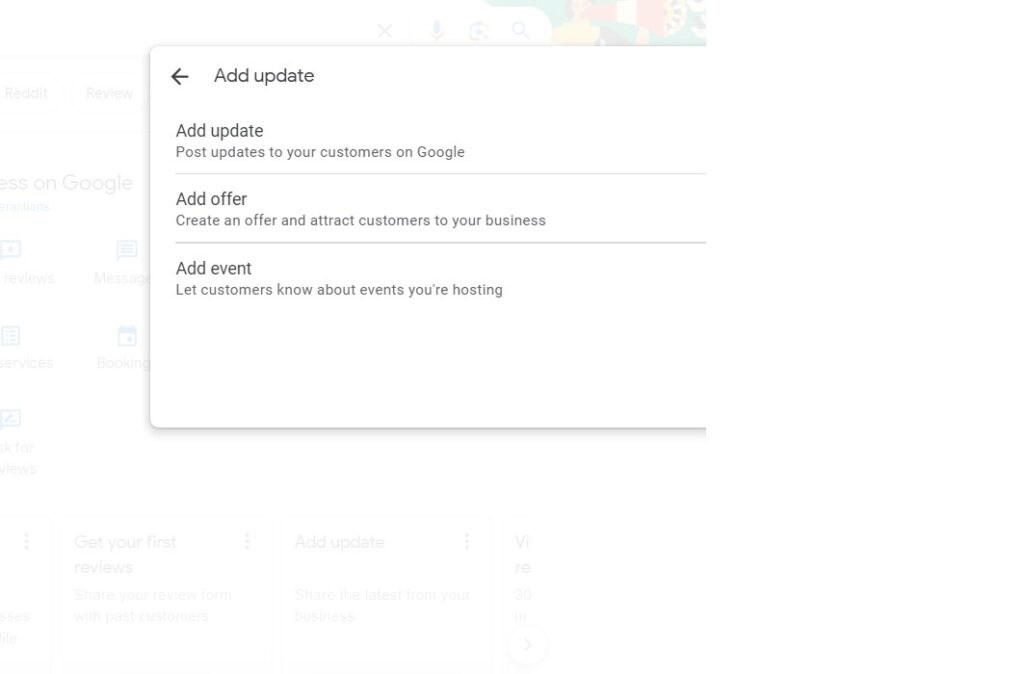
Click on Add update to create a post. This is where you’ll start building your business portfolio content.
Google offers several post types, such as “What’s new,” “Event,” “Offer,” or “Product.” Select the one that best suits the content you want to add to your portfolio.
Add Update = For company announcements, social media reposts, and live company updates.
Event = Holidays, Company events, Business Expos, Team Events, and more.
Offer: Promotional sales, seasonal discounts, grand-opening sale
Step 6: Add Content
Fill in the details for your post, including a catchy title, engaging description, and any relevant information. This is your chance to showcase your business, so be creative and informative.
Step 7: Add Visuals
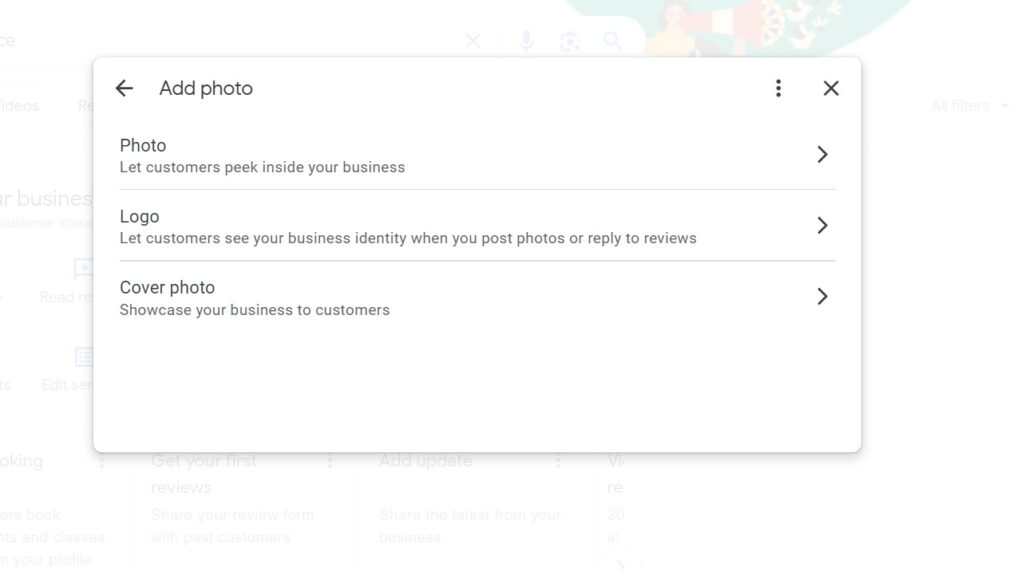
Google loves visuals, so add high-quality images or videos that represent your business well. Ensure they meet Google’s image guidelines for best results.
Step 8: Add a Button (Optional)
Depending on the post type you’ve chosen, you can add a button to encourage action from your audience. This could be a “Learn more” button for informational posts or a “Book now” button for event posts, for example.
Step 9: Preview and Publish
Preview your post to make sure everything looks good. Check for any typos or formatting issues. Once you’re satisfied, hit the “Publish” button to make your post live.
Step 10: Monitor and Update
Keep an eye on your posts’ performance. Google My Business provides insights on how many views and clicks your posts receive. Regularly update your content to keep your business portfolio fresh and engaging.
Step 11: Repeat
Create more posts over time to build a comprehensive business portfolio. Use a variety of post types to showcase different aspects of your business, including products, events, and special offers.
Want us to handle the technical trouble for you? No problem!
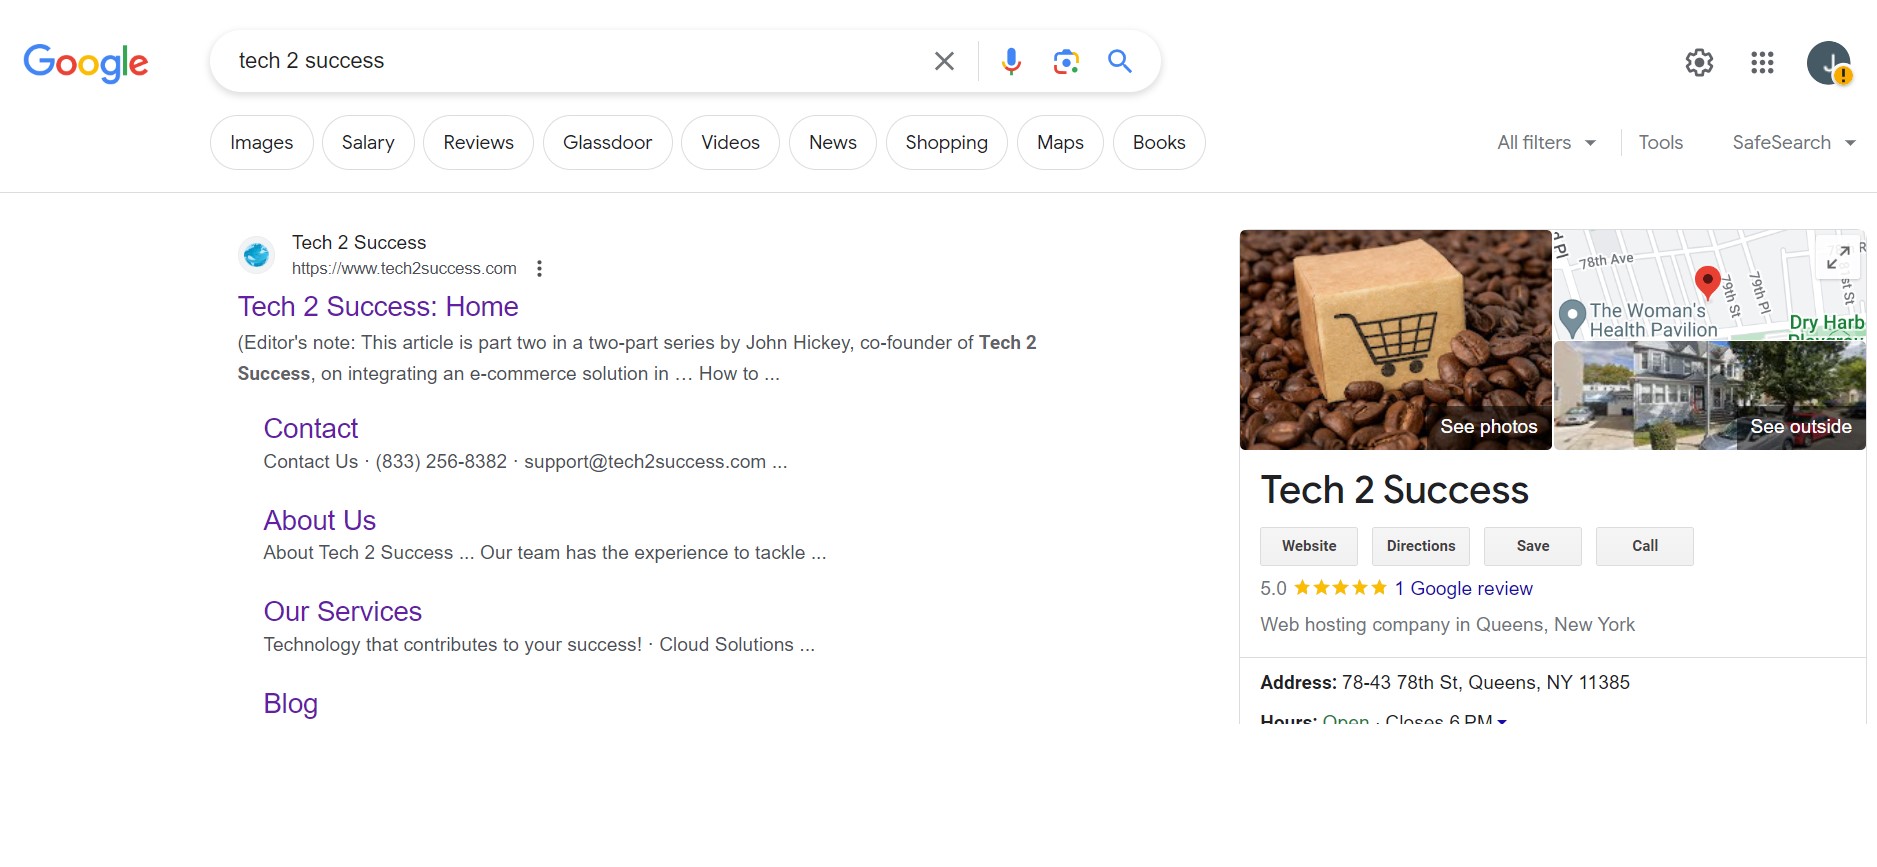
Our Tech 2 Success team are the go-to technology experts that empower every company to successfully achieve their goals through innovative solutions and education.